In X-Plane 11 and previous versions, texture files need to be of a specific format. A typical texture file (one per object file) will be 1024 pixels by 1024 pixels square. For most texture uses this file is set to 36.12 cm square and 72 pixels per inch, which is screen display size. There are also variations that can be used based on this square format.
If the texture file format does  not conform to this
standard, the file will either not load, or show black lines between
texture overlaps.
On the left is a texture file for the service hangar at Nadi International Airport on Fiji. The surface textures for the walls and roof are the main cover areas and the text to fit over the main hanger front appears in large letters on the texture surface.
The lettering for text on texture files needs to be a suitable size so that it appears crisp on the surface of the object being created. Smaller text will be pixilated and will not be fully readable on screen.
The elements of this texture file are added to allow a mix and match pasteing onto the object file surfaces. The interior of the hanger is white, having rows of windows and pink doors to match the current Logo colours of the airline.
All other colours need incorperating onto the texture file so planning the textures to include can be quite a problem. Basically, lettering and specific textures need to be large to appear on screen. Plain colours can be very small and can be re-sized to expand them onto larger areas of the model.
This type of texture file is best saved as a .png file and given a meaningful name like NADIhangarT.png to be easily identifiable.
If it is too complex to create a single texture file for a large scenery object, it may be better to create two or more components with separate texture files for each model and place them together in WED.
 |
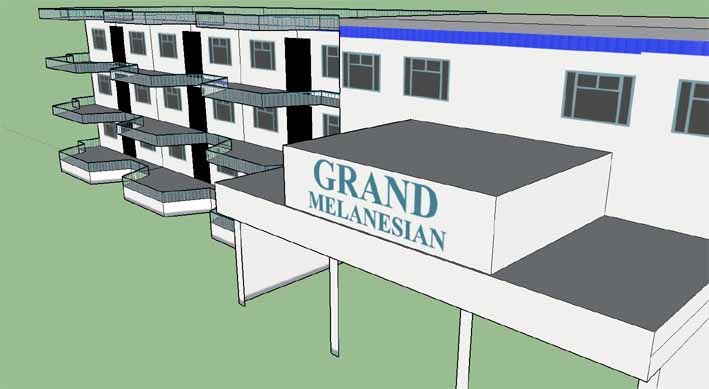 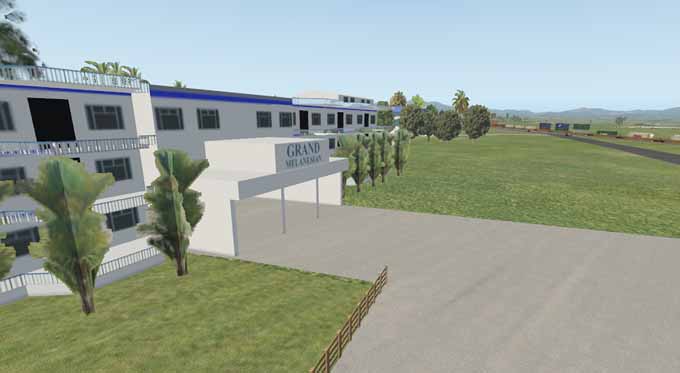 |
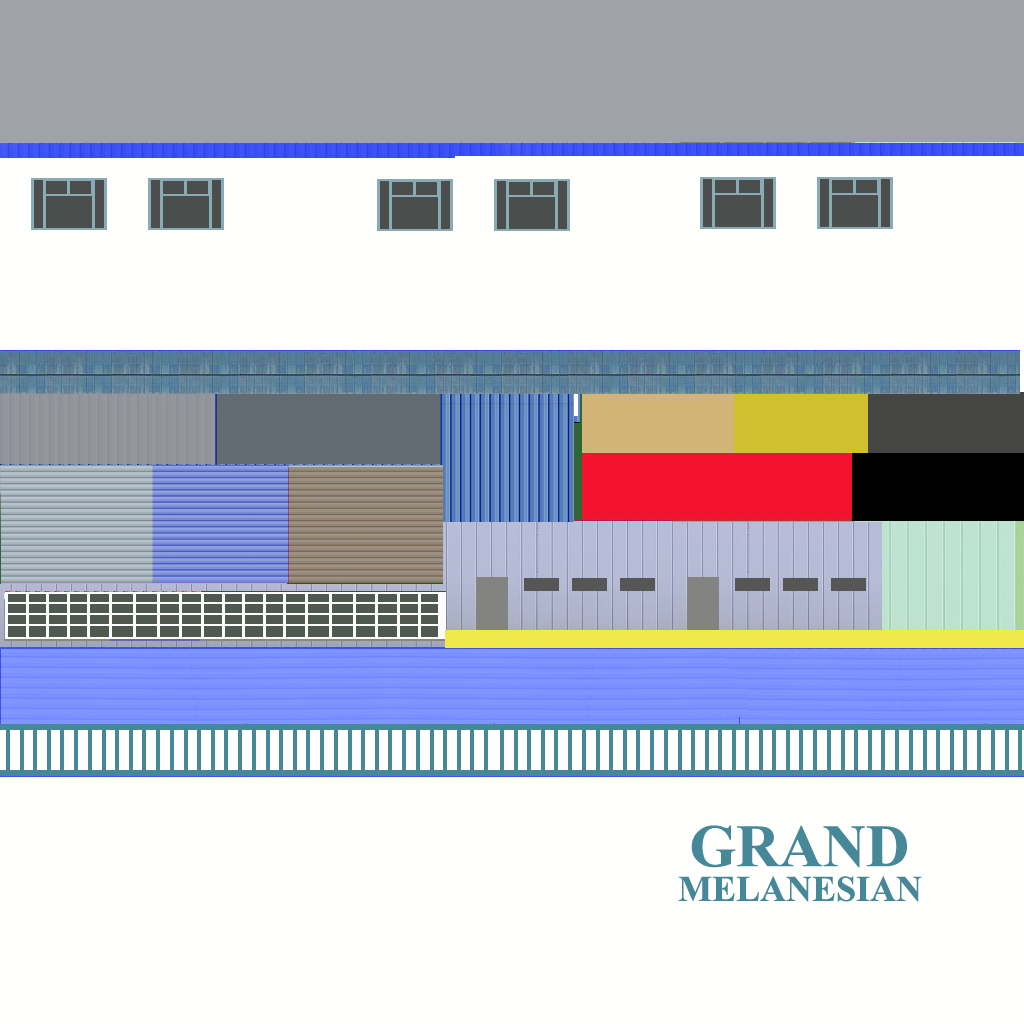
The Grand Melanesian hotel at Nadi, which was created in SketchUp, includes a blue railing texture. On the texture file, the background is transparent. The blue railings are placed over the transparent background and applied to the model to show a see through set of railings. This allows a complex texture effect without the need for lots of extra triangles in the .obj file. This texture technique can be applied to any fencing or open slatted structure. The hotel is large and is a composit of 6 model units.
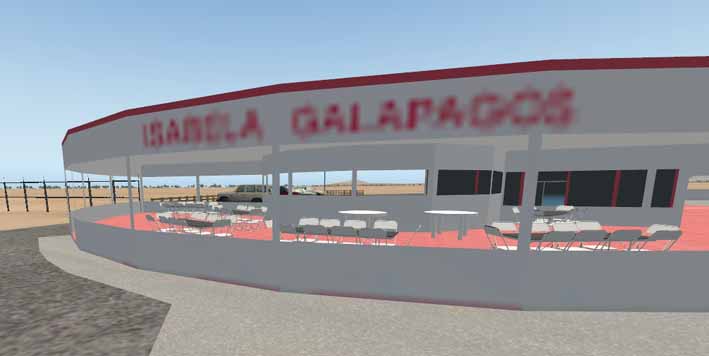
Take care with small text content on a larger texture file. Here, the representation is too small and increasing the texture size has left a heavily pixilated text on the model. This looks very odd when viewed in the simulator.
Transparent glass effects are difficult to acheive well. Using a transparent background, lay down a 55% colour wash (say - pale blue for a bluish glass). This should translate onto the model as a see through panel. A colour with between 30% and 65% coluor usually works well.

Here is a texture file used for a WW1 twin hangar. For the windows it has a 45% blue colour wash on a transparent background with white frames at 100% colour wash. This allows a see through and slightly blue coloured glass for the side wall of this prototype aircraft hangar.
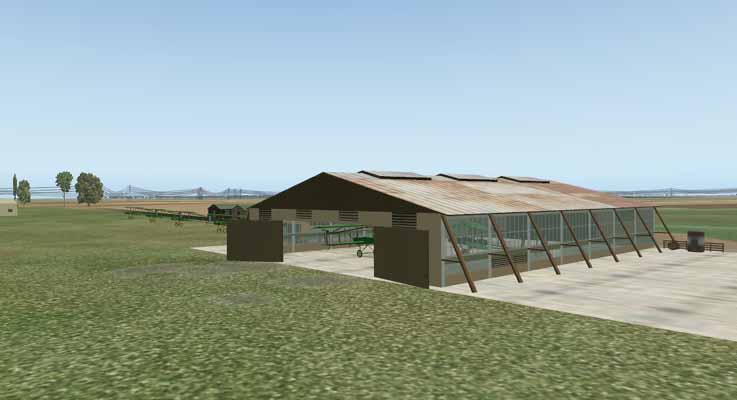
The transparency of the windows allows the aircraft inside the hangar to be seen through the glass. This technique can be used to good advantage in detailing control towers and terminus fronts where they appear close to the taxiways and gates.
Top Tip
Keep textures that are close to runways, taxiways and gates, as detailed as is practical. Distant objects need to be as simple as possible so as not to impose on frame rate or loading time.
Wherever possible, use texture to add detail and keep the models simple. Avoid using the SketchUp text tool, which provides solid text as a programmable element.
If in doubt of the size needed for a texture file. Open one that works and save it under a different name, then edit it to your needs. If you are making a composit model with different texture files, use the first texture file as a template to preserve the common texture elements across all components of the model.
.